Chapter 56 is a detailed section of Chapter 22, Sengoku Period History. Please read Chapter 22, Sengoku Period History, before reading this part.

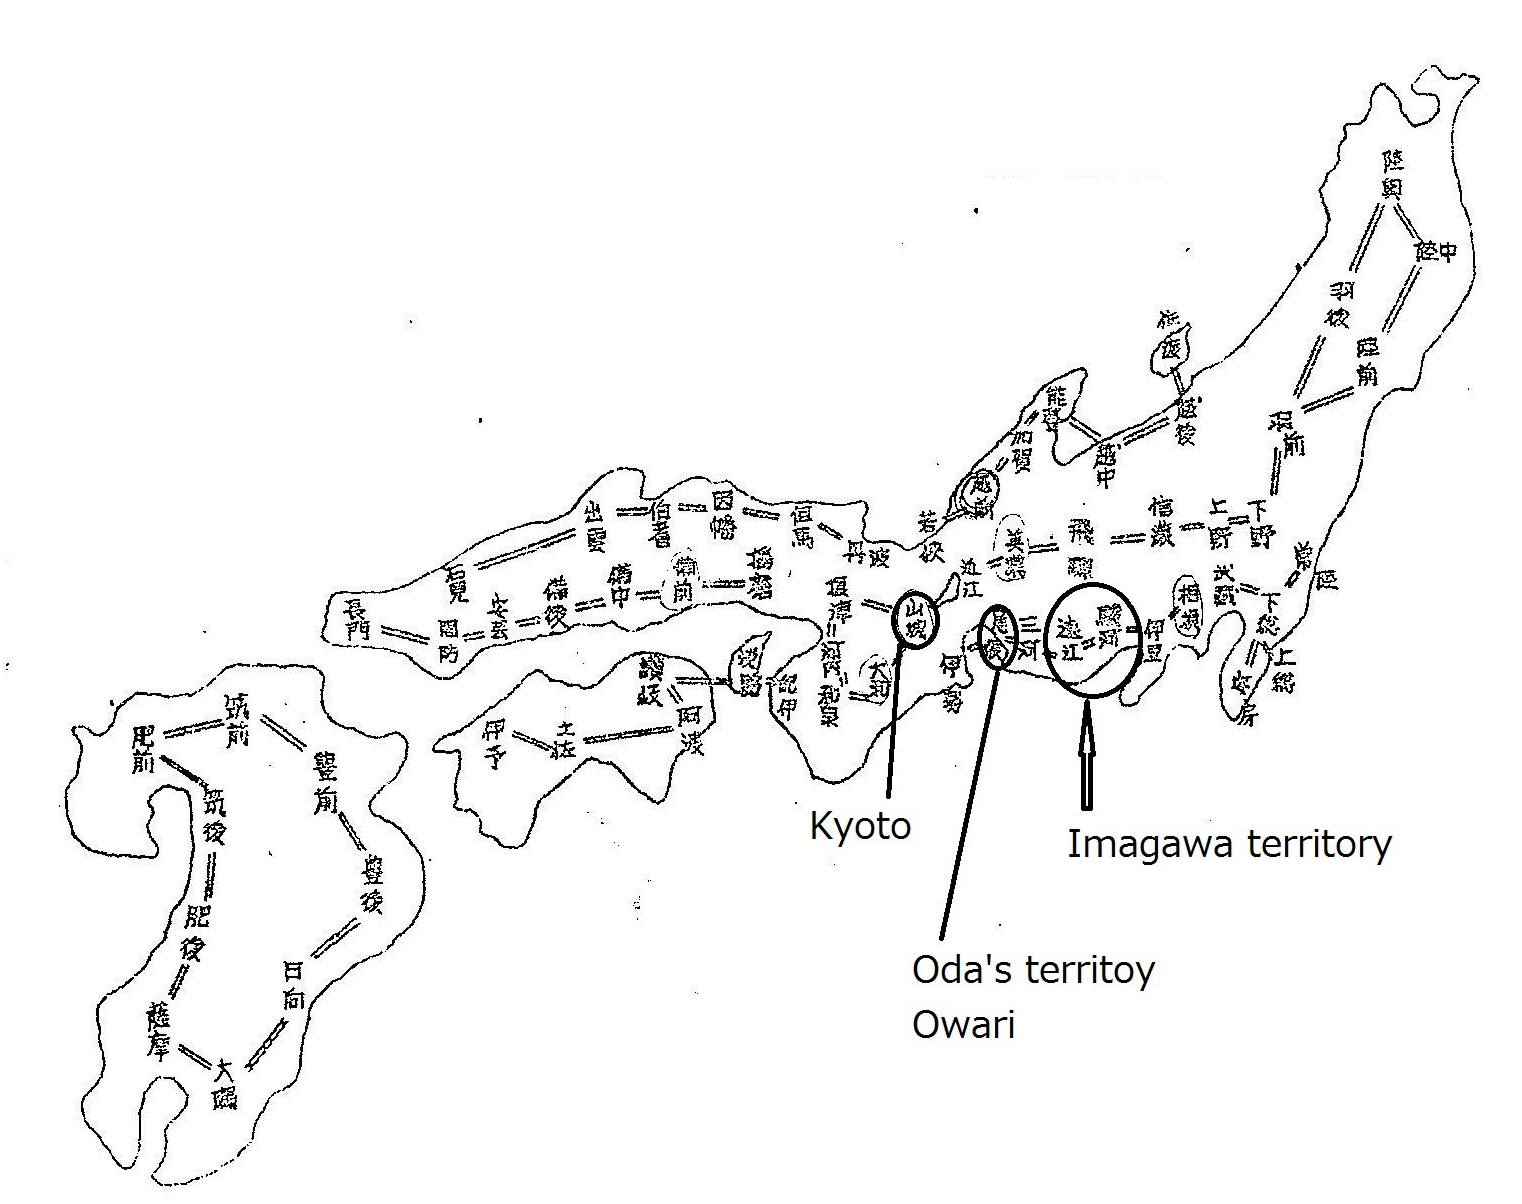
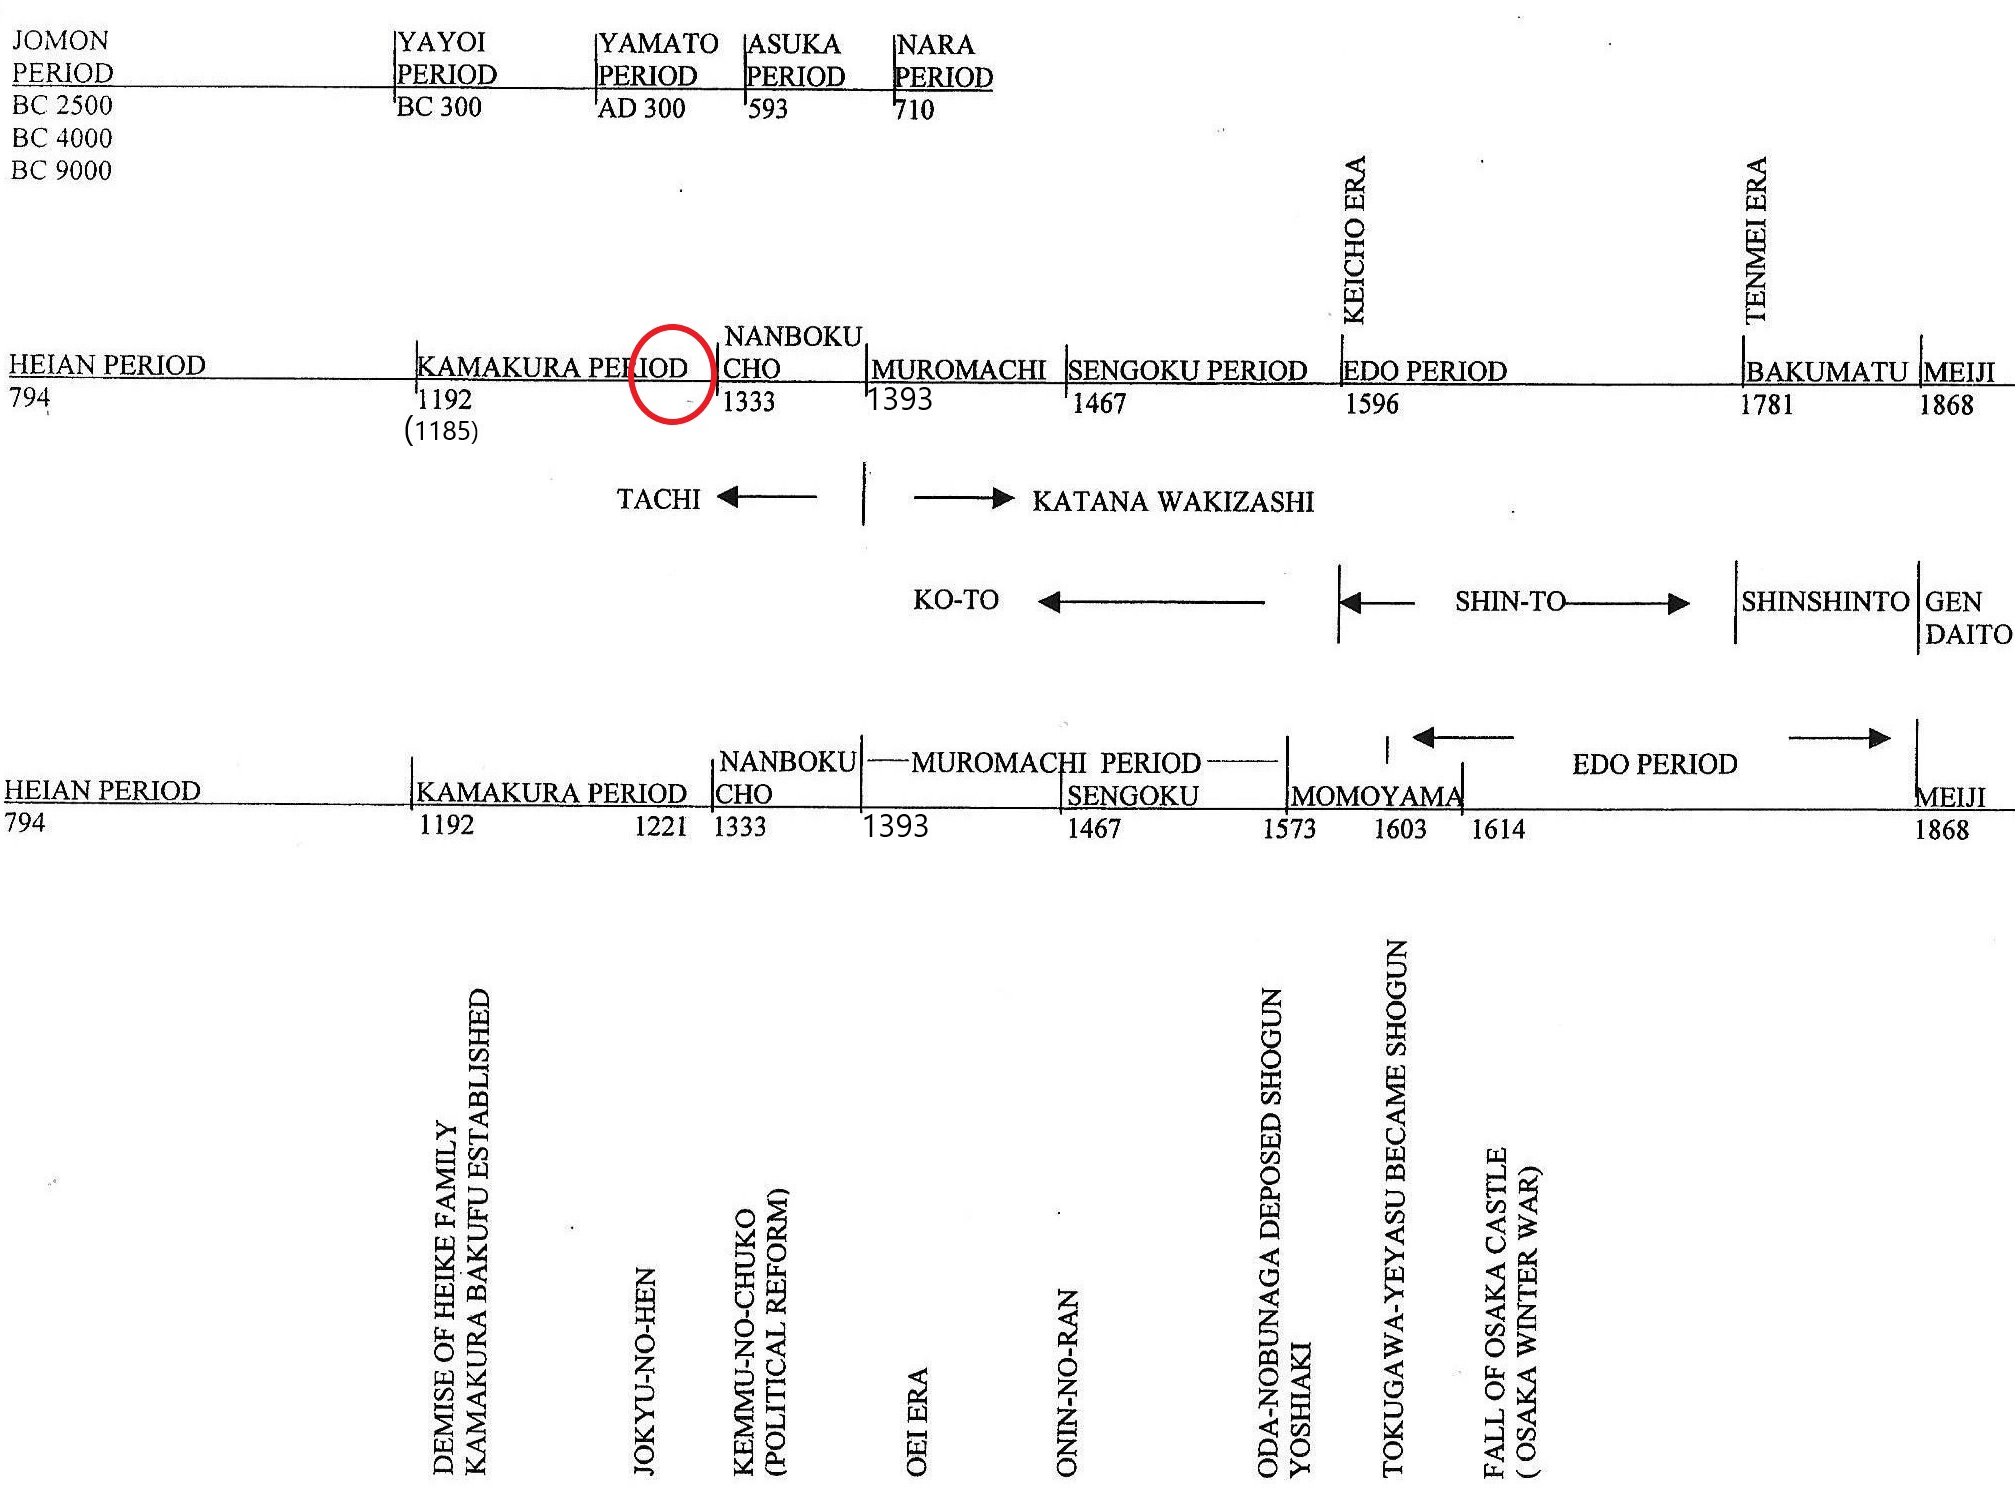
The circle above indicate the time we discuss in this section
Chapter 22, Sengoku Period History, explains why we divide the Muromachi period into the Muromachi and Sengoku periods based on sword styles. The center timeline above indicates that the Sengoku period (戦国時代) ended in 1596, according to sword history.
1596 is the start of the Keicho (慶長) era. Swords made during and after the Keicho era are called shin-to (new swords), and swords before the Keicho era are called ko-to (old swords). Therefore, the start of the Keicho era is the dividing line. Swords made during the Keicho time are technically shin-to, but they are specially called Keicho shin-to.
Chapter 22, Sengoku Period History, describes an overview of the Sengoku period. At the beginning of the Sengoku period, about thirty small Sengoku daimyo (warlords) fought fiercely against each other. They formed alliances with neighboring territories on and off, and occasionally betrayed one another. The more powerful daimyo took over the territories of the weaker ones. Gradually, the number of daimyo decreased. Well-known powerful daimyo include Imagawa Yoshimoto (今川義元), Takeda Shingen (武田信玄), Uesugi Kenshin (上杉謙信), Hojo Soun (北条早雲), Oda Nobunaga (織田信長), Tokugawa Ieyasu (徳川家康), and Toyotomi Hideyoshi (豊臣秀吉). Their ultimate goal was to defeat their rivals and advance to Kyoto (京都) to establish themselves as the supreme political power.
Oda Nobunaga (織田信長) defeated Imagawa Yoshimoto in Okehazama (桶狭間)
Around 1560, Imagawa Yoshimoto (今川義元) controlled a large part of Suruga (now Shizuoka Prefecture). See the map below for the location. He was a powerful Sengoku daimyo, strong enough to be the country’s top ruler.
The Imagawa clan decided to move their army to Kyoto to take control of the government. He took 25,000 men with him. On his way to Kyoto, they needed to pass through Owari (尾張: Aichi Prefecture today; see the location below), Oda Nobunaga’s territory.
Oda Nobunaga (織田信長) was a young man with far fewer resources than Imagawa Yoshimoto. It was clear that Oda Nobunaga had little chance of defeating Imagawa. He had just become the head of Owari after his father’s death. At that time, Nobunaga was called “the idiot of Owari” because of his eccentric behavior (although he was a genius).
Few people trusted Nobunaga. Among Od’s vassals, some insisted on staying inside the castle instead of going out to fight, since Nobunaga could only gather 3,000 men. But in the end, to everyone’s surprise, the Oda side won. Here is how it happened.
While Imagawa Yoshimoto was advancing, Nobunaga scouted which route Imagawa would take. Imagawa’s side was confident they would win this easy battle because the Oda clan was small, and the head of the clan was an idiot. The Imagawa troops decided to stop and rest at a place called Okehazama. The road passing through Okehazama was long and narrow. Knowing that Imagawa’s troops would come this way, Nobunaga sent out his men disguised as farmers and offered food and sake to the Imagawa soldiers. While they were having a good time, Oda Nobunaga launched a surprise attack on the Imagawa troops. On top of that, it suddenly began raining heavily. The rain was so intense that the Imagawa troops could not see the Oda troops approaching. Ultimately, Imagawa Yoshimoto was killed in battle by Oda forces. Afterward, the Imagawa clan declined.

Bishu Okehazama Gassen (備州桶狭間合戦) by Utagawa Toyonobu (歌川豊信) Public Domain (http://morimiya.net/online/ukiyoe-big-files/U896.html)
Oda Nobunaga(織田信長) and Akechi Mitsuhide(明智光秀)
After the Battle of Okehazama, the Oda clan rapidly expanded. Oda Nobunaga became the dominant power. During his rule, he carried out several brutal acts, such as burning the Enryaku-ji temple (延暦寺) and killing many people, including civilians, yet his economic policies encouraged commercial activities.
Things were going fairly smoothly for Nobunaga late in his life. However, in 1582, Nobunaga was killed by his top vassal, Akechi Mitsuhide (明智光秀), at the Hon’nou-ji (本能寺) temple in Kyoto. Nobunaga was 49 years old.
There are several theories about why Akechi attacked and killed Nobunaga, but we don’t know exactly what happened. One speculation is that Akechi held a grudge against Nobunaga. There were numerous incidents where Nobunaga mistreated him. Another theory suggests that Akechi saw an opportunity to attack Nobunaga (Nobunaga was with very few men that day), and he took the chance. Another one is that Shogun Ashikaga Yoshiaki (足利義昭) and his allies ordered Akechi to kill Nobunaga because Akechi had once worked for him. Shogun Yoshiaki was afraid Nobunaga would become too powerful. More theories exist. We don’t know the true reason; it is still debated today. It remains one of the big mysteries in Japanese history.
After this occurred, the news was sent to Toyotomi Hideyoshi, who was Akechi‘s counterpart under Nobunaga. At that time, Hideyoshi was in Bicchu (備中, today’s Okayama Prefecture ), about 230 km (143 miles) from Kyoto (see the map below). Hideyoshi quickly returned to Kyoto with his troops to avenge his master against Akechi and killed him.
Here is another mystery. The time between Nobunaga’s death and Akechi’s death was only ten days. Hideyoshi was 230 km (143 miles) away, with mountains and rivers between them. This means that within 10 days, Hideyoshi received news of Nobunaga’s death, packed up, and hurried back 230 km (143 miles) to Kyoto with his large number of soldiers, and fought against Akechi and killed him. Their means of transportation at the time were limited. Although Hideyoshi maintained a constant communication channel with Nobunaga‘s inner circle, his reaction was somewhat too swift. There are also speculations that Akechi and Hideyoshi were both behind together(?) or that there was some other secret plot behind the incidents.

After Hideyoshi killed Akechi, he cleverly maneuvered his way to the top of power. While Hideyoshi was in charge, he mined enormous quantities of gold from the mines he owned. Records state that Hideyoshi buried a large amount of gold somewhere. However, it has not yet been found.
Hideyoshi was a son of a poor farmer who rose to become Japan’s most powerful man. His success story fascinates the Japanese people. Nobunaga, Hideyoshi, and Tokugawa Ieyasu are the most frequently depicted subjects in television shows and films. After Hideyoshi died of natural causes, Tokugawa Ieyasu became Shogun, and the Edo period began.
The reference source *Rekijin.com/?p=31448-キャッシュ *Bushoojapan.com/scandal/2019/06/02/51145-キャッシュ

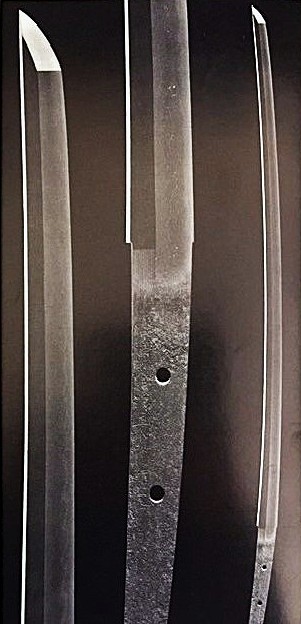
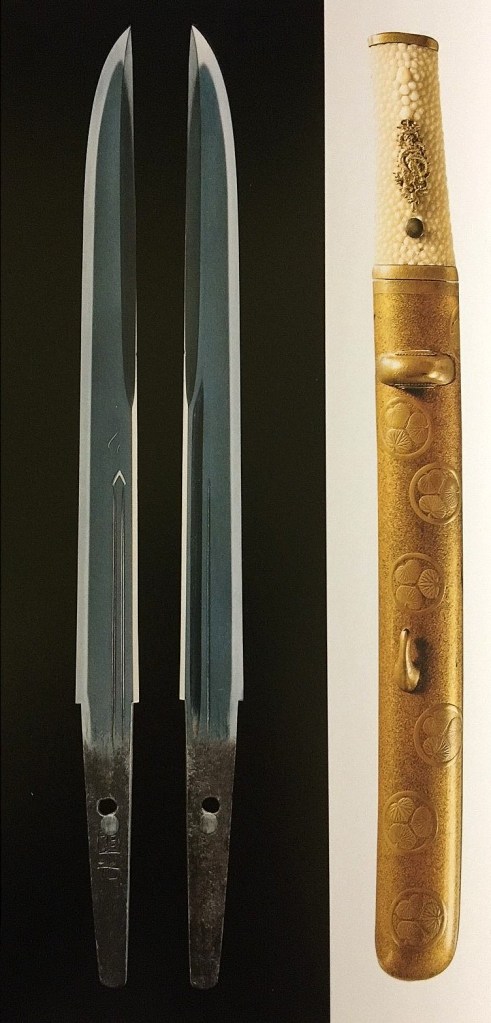
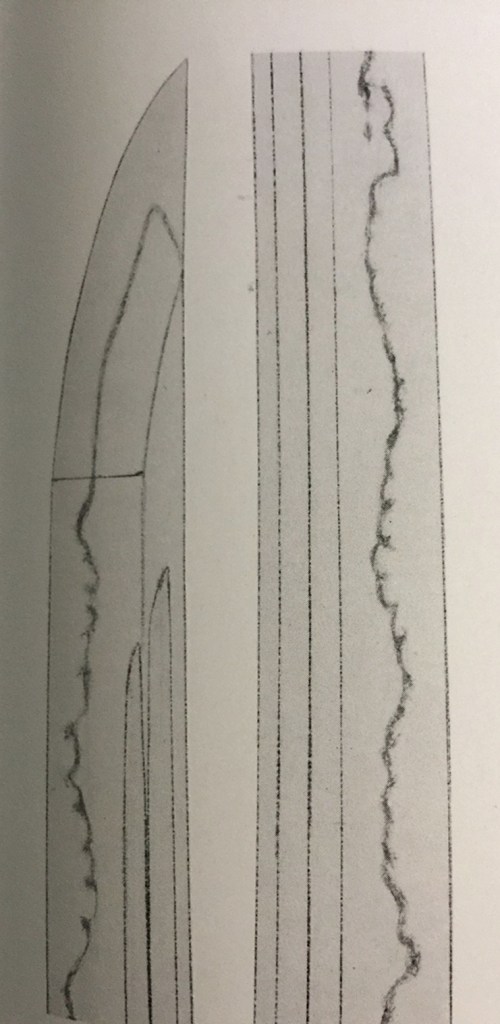
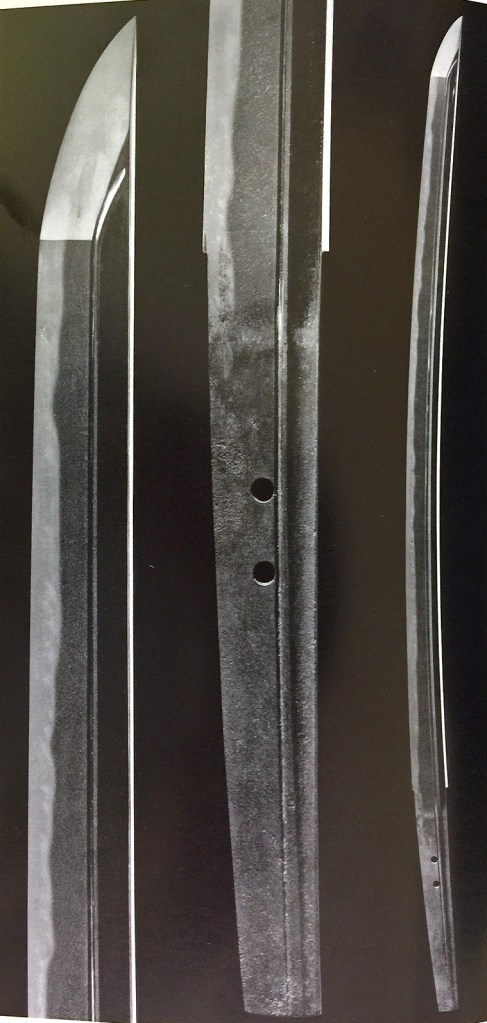
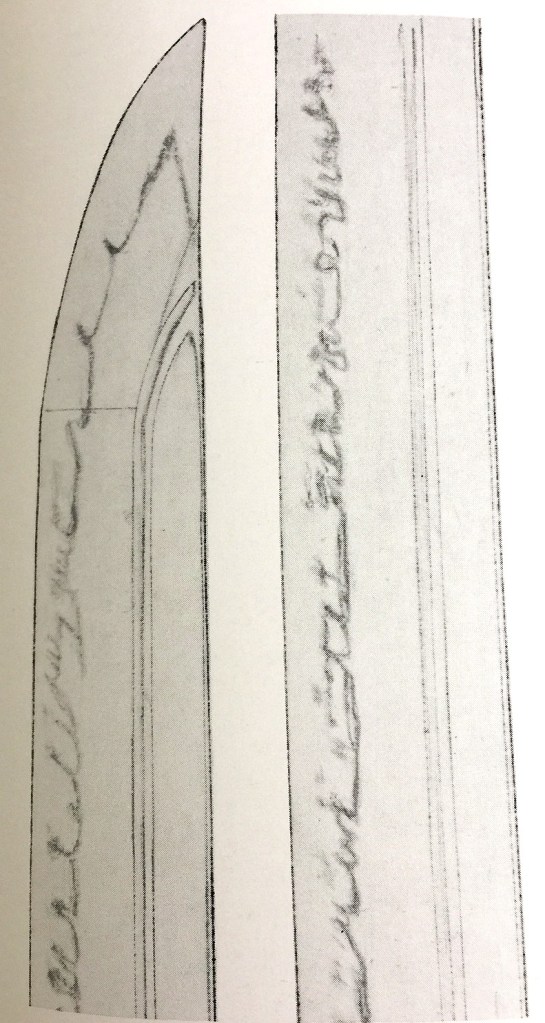
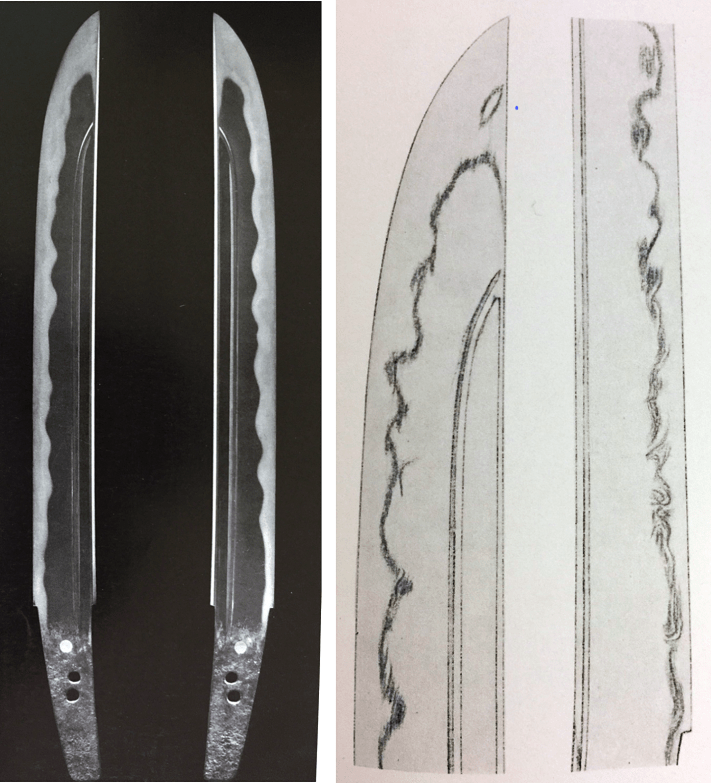
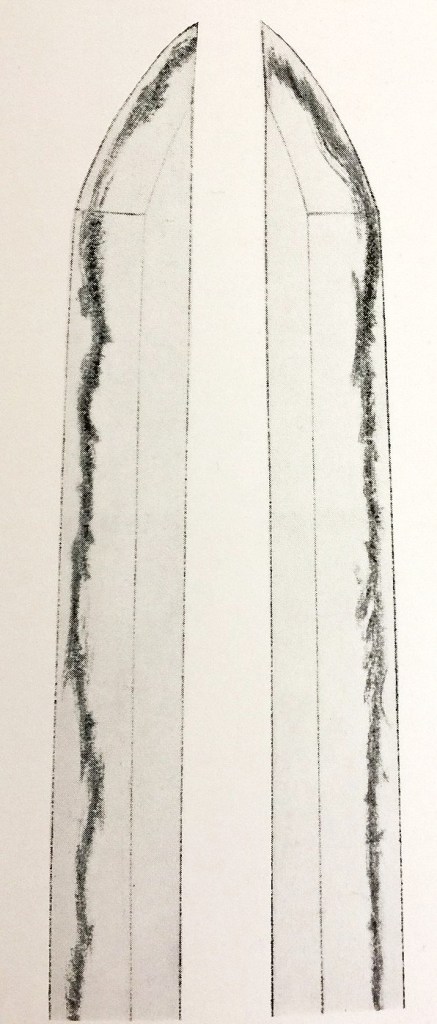
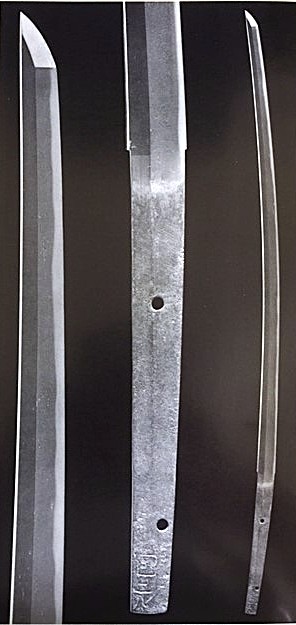
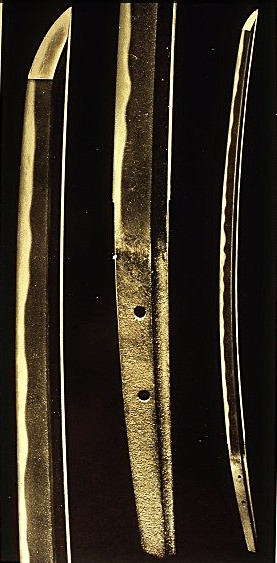
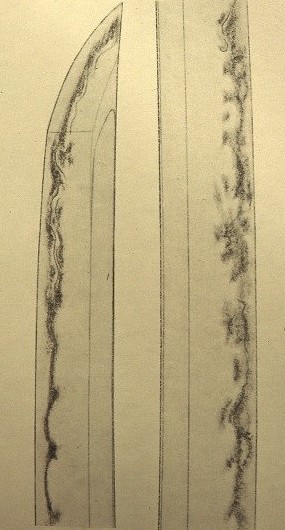
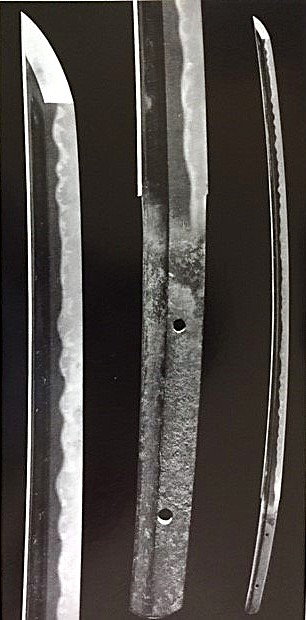
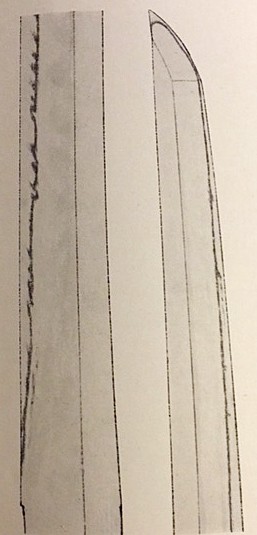
 Bishu Osafune Moromitsu (備州長船師光) from Sano Museum Catalogue ((permission granted)


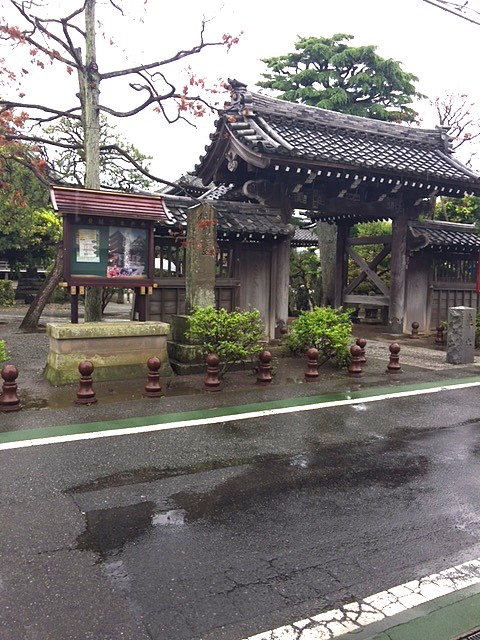
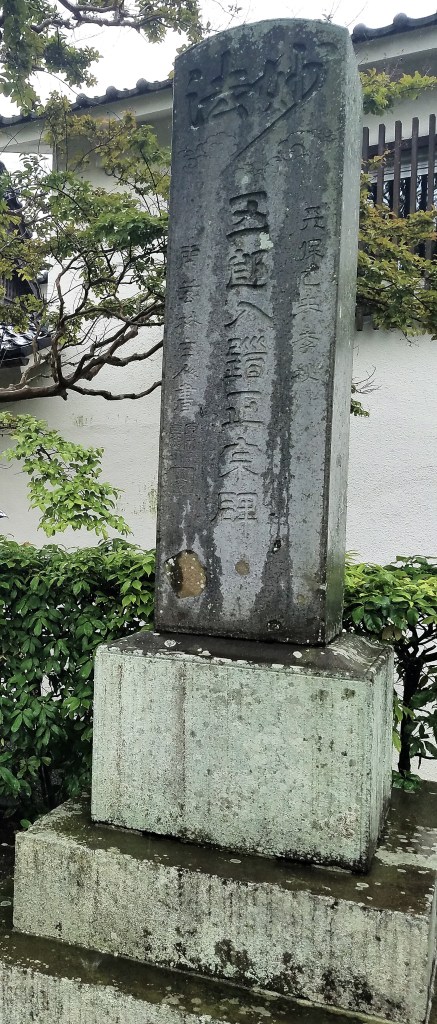
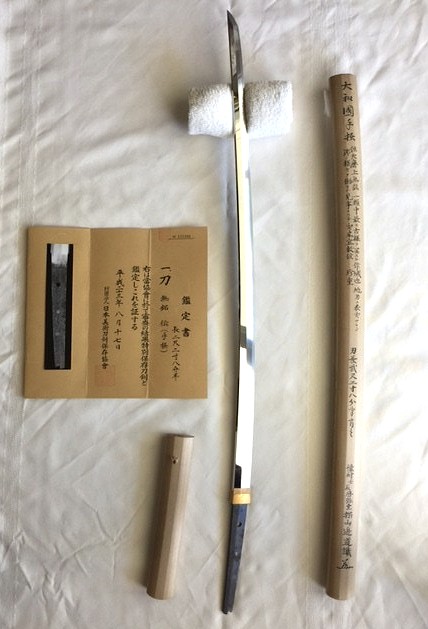
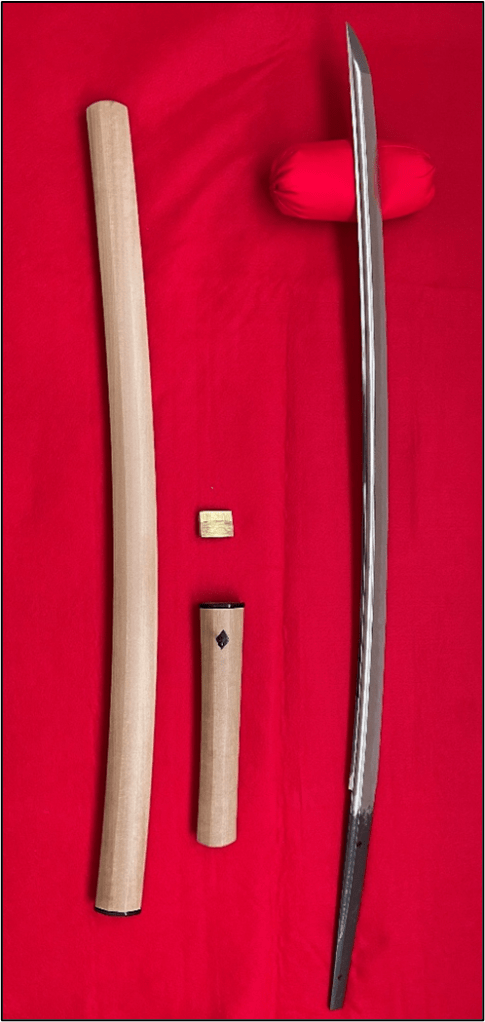
 My photo May 2019,
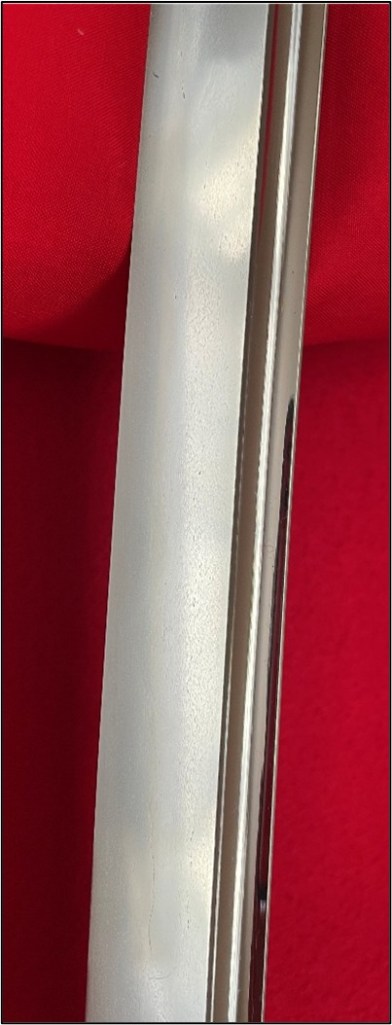
 My Japanese room

 Hiromitsu from the Sano Museum Catalogue (permission to use granted)

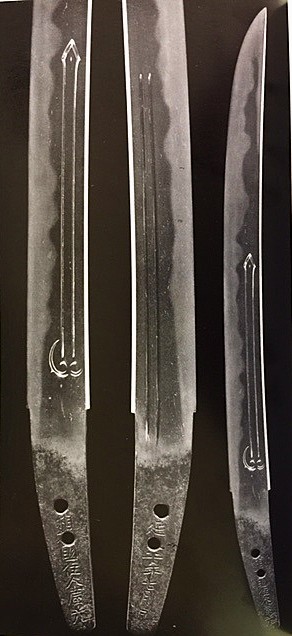
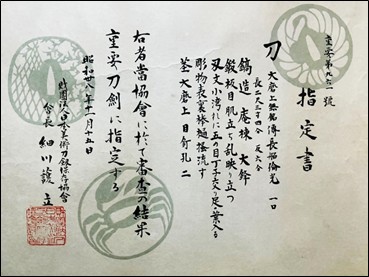
 This is the certification of my sword. Shodai Nobukuni (初代信國). Juyo Token (重要刀剣)
 ” Sa” from Sano Museum Catalogue “Reborn” (Permission granted).
 Aoe (青江) is pronounced “A” as in apple, “o” as in original, and “e” as in an egg. Aoe was a swordsmith from Bittchu (備中) province, located next to Bizen. Therefore, the characteristics of Ko-aoe (old Aoe) and Ko-Bizen (old Bizen) are similar.
 Higo Province Enju Kunisuke from Sano Museum Catalog (permission granted)
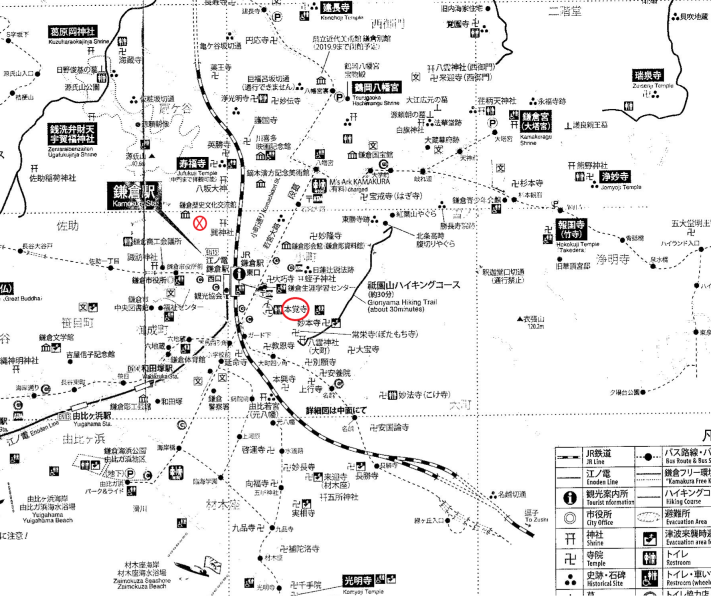


 The stone wall scene. Photo from Wikipedia. Public Domain